Copyright © 2022 by Wayne Stegall
Created July 5, 2022. See Document
History at end for
details.
DIY Mogami Speaker Cables
Coaxial
speaker
cables
improve
the
sound
of my stereo.
Introduction
I had been studying the cable issue and particularly the idea that pro
audio cables could give improvements on a budget when I read in an AES
paper that speaker cables made of untwisted parallel wire were
inadequate because they did not deal with radio frequency
interference. Having read that Mogami coaxial speaker cables
sounded better and were cheaper than their twisted pair type (both of
which resist RFI on different principles), I decided to build my
own. I ordered 12 foot of Mogami 3082 wire for $14.88 and some
banana plugs from Amazon (approx $8-9) and proceeded with a
build. By comparison, World's Best Cables sells these premade for
approximately $70.
Assembly
Wanting to have as little unshielded wire exposed at the ends as
possible, I examined the geometry of the wires relative to the expected
connector spacings and decided that my end wires would be 3
inches. I then proceeded as in the following pictures.
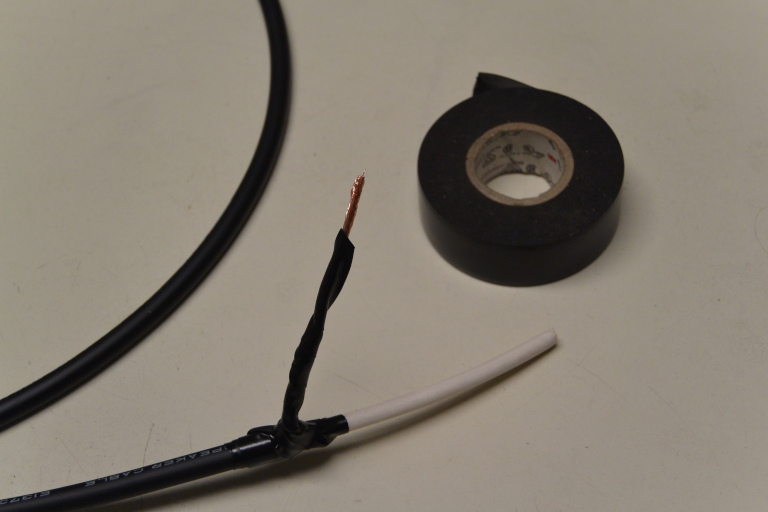
Figure
1:
Some
tools
used.
|
 |
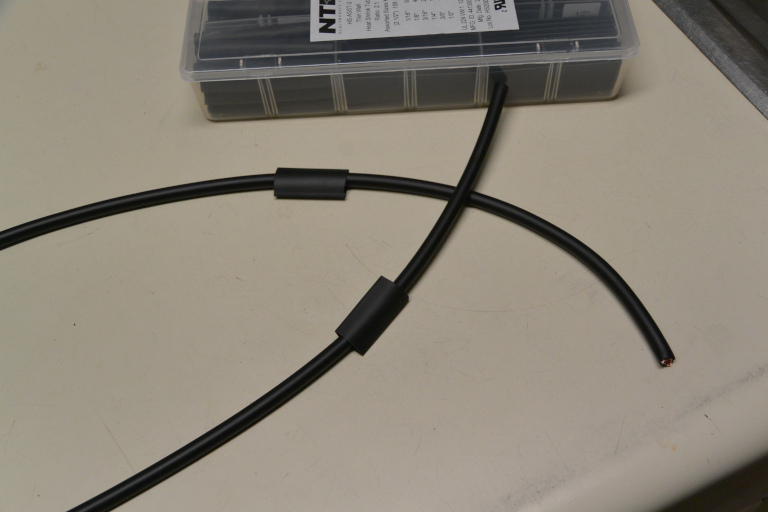
Figure
2:
Place
two
11/4" lengths of 3/8"
shrink
wrap
sections
on
wire
|
|
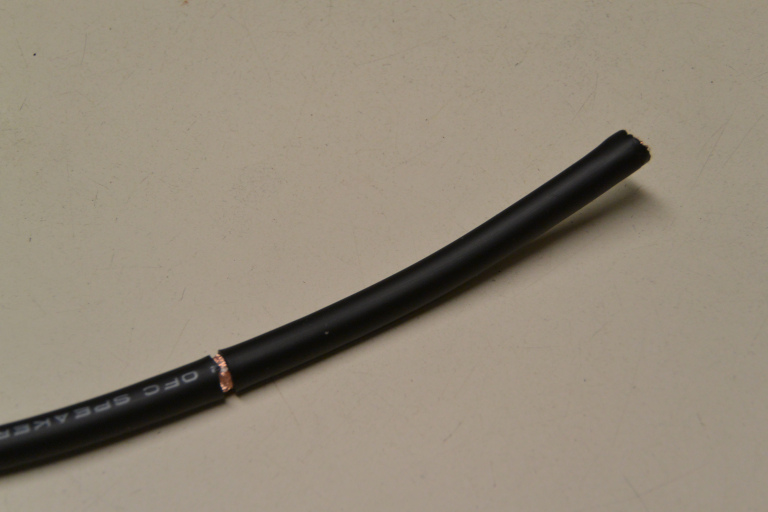
Figure
3:
Lightly
score
insulation
with
wire
strippers 3" from end of
wire..
|
|
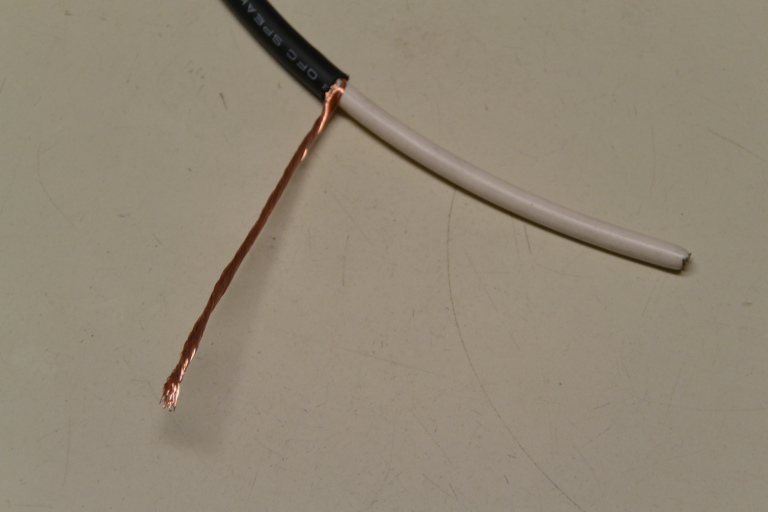
Figure
4:
Pull
off
detached
section
of
insulation to reveal shield.
|
|
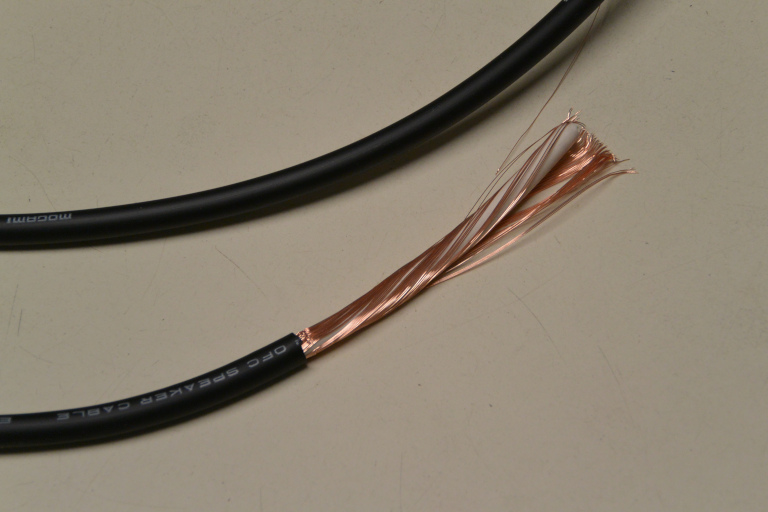
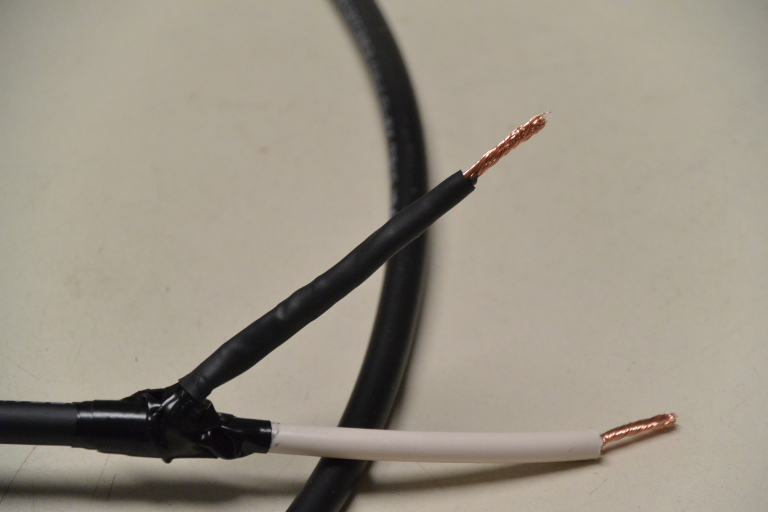
Figure
5:
Pull
shield
to
side
and
twist into a wire.
|
|
Figure
6:
Starting
from
position
on
insulation
next to joint wrap
electrical tape around joint to cover all three valleys between pairs
of the legs of the Y then up the bare wire 1/2" short of the end.
|
|
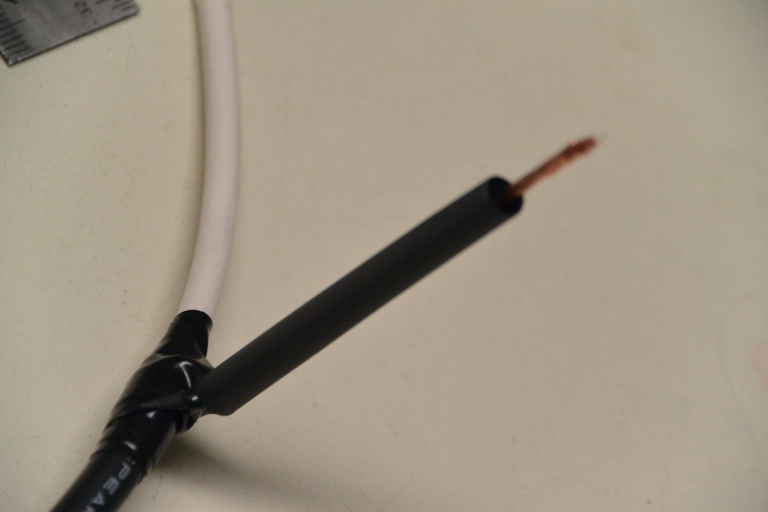
Figure
7:
Trim
3/16" shrink wrap to cover
electrical tape wound on bare wire to cover all but last 1/2"
inch
of
wire
at
end.
|
|
Figure
8:
Apply
heat
from
blow
dryer
on hot setting to shrink wrap until
it fit snugly over wire. Then strip 1/2"
of the insulation from the center wire.
|
|
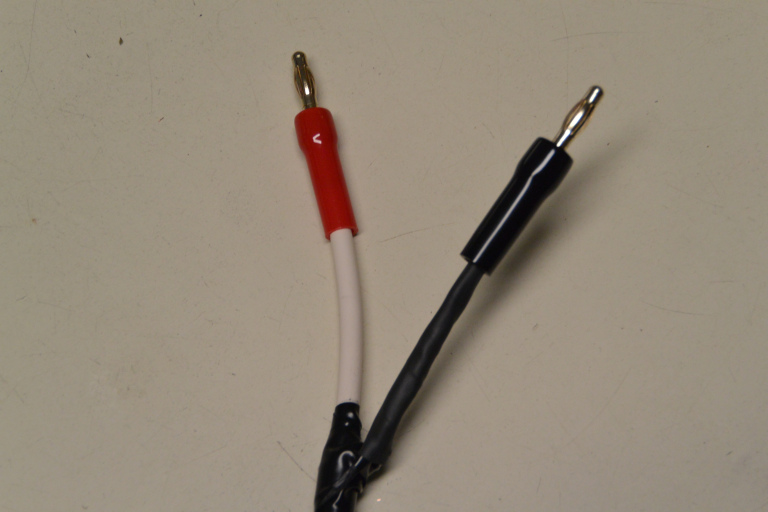
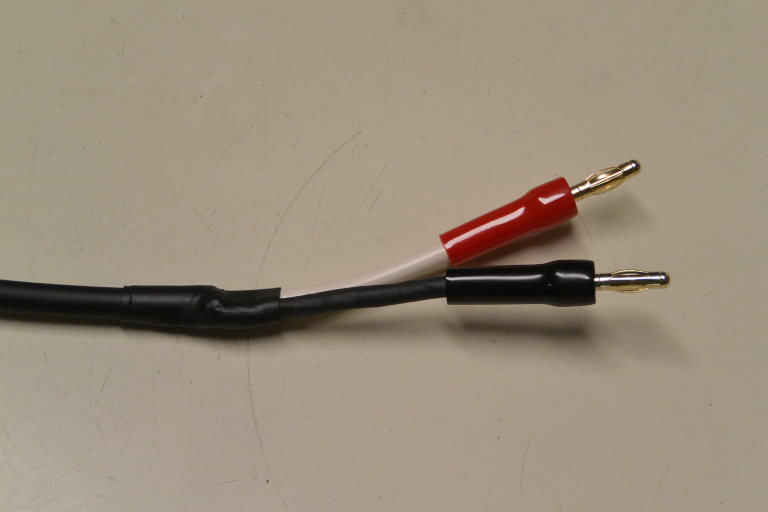
Figure
9:
Place
banana
plug
boots
on
wire, attach plugs with set screws,
and pull boots back onto the banana plugs to their final position.
|
|
Figure
10: Pull up 3/8" shrink wrap previous placed on wire to cover junction
and shrink with blow dryer.
|
|
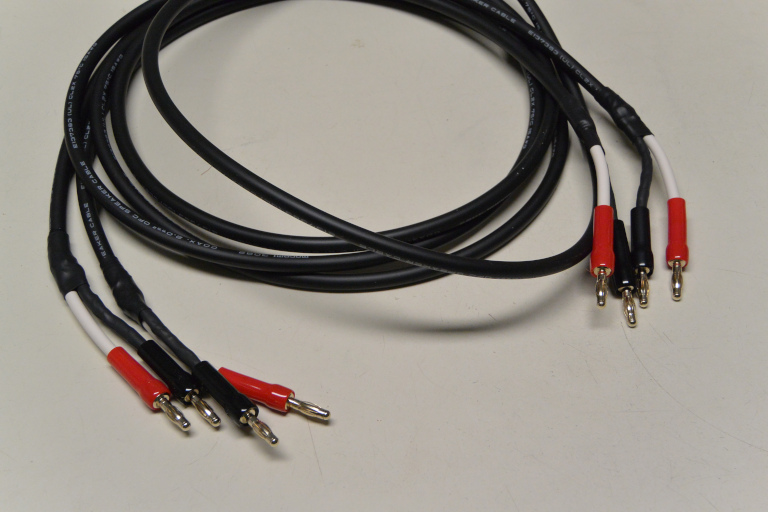
Figure
11:
Performs
previous
steps
to
all
wire ends to get a complete
set of cables.
|
|
Text
Sound
After initially connecting the new wires, I was disappointed that the
sound seemed worse than the Monster type cable previously
installed. So I left my stereo running and pursued other
activities. I came back to find the Mogami cables sounded
better. After a few days, the sound had changed and was now
better than the previous cable set. The sound was smooth and easy
with the Christian rock that I was playing. In order to verify
that this was not just rolled off treble I played some music I knew to
have a lot of high frequency energy. In particular, when I played
the Celtic song "Into the Light" by Eden's Bridge, the tinkling bells
or chimes and cymbals played showed fully extended treble clean of
distortion so that you might call it sweet. Indeed the entire
sound was clean. Limited open-mindedness to cable differences
expected a subtle difference. To my ears these improvements were
not subtle.
Someone else who made a set of the cables commented on a diyAudio blog
entitled "So I decided to try Mogami speaker cable." Thunau writes
Anyway, when I first switched from the
factory 10' cable to my 7' Mogami home-brew I thought that something
was not right. The cable seemed to attenuate the signal by a dB or so.
If anything the music should get louder. The Mogami is a 15AWG-14AWG
cable and the factory is at most 18AWG, plus it's about 3' longer. The
series resistance has to be higher. Also, the low end seemed to be more
pronounced with the thin factory wire. Some investigation was in order.
First I checked my connections at the amp. The factory cable (which
came with bare ends) was tightened using the binding posts, for the
Mogami I used Banana plugs. The amp is an older Adcom. I don't know
when the binding posts were used last with banana plugs, so I decided
to spray them with Caig Deoxit. That took care of the low end. It was
now on par with either cable, or at least very close. The treble still
was more pronounced with the factory cable making it seem a bit louder.
I started to listen for the particulars. When I put on some big band
jazz with prominent drums and a lot of cymbal splashes, the difference
became obvious. The factory cable is mushing the treble making it
harder and noisier sounding, which I at first perceived as "louder".
The Mogami cable is resolving the detail in the treble much better. The
cymbals sound like cymbals even when hit hard and fighting for aural
space with a brass section at the same time. The factory cable has
trouble handling it making these passages lose detail.
This was a worthwhile activity. Worth doing again.
1Jim Brown, "New
Understandings
of
the
Use
of
Ferrites in the Prevention and Suppression
of RF Interference to Audio Systems," October 2005, AES Electronic Library,
http://www.aes.org/e-lib/
2"So I decided to try Mogami speaker
cable," August 7, 2004, diyAudio,
https://www.diyaudio.com/
Document History
July 5, 2022 Created.
